Installing ONES Application
ONES Application system - Installation Steps
Enable super-user mode
user@ones-application:~$ sudo su
Extract the contents of the downloaded ONES Installer tar.gz file to this folder
root@ones-application:~$ tar -xvf ONES-GAv1.1.tar.gz
Go to GAv1.1 folder on the server machine
root@ones-aplication:~$ cd GAv1.1
Run ones-installer.sh to Install the ONES application function
root@ones-application:~/GAv1.1$ ./ones-installer.sh
The installer file will automatically detect & will process fresh installation or upgrade to the new version
Fresh install
Installing ONES application...

Do you want to install SSL certificates? [y/n]n
Using self signed certificates.
NOTE:
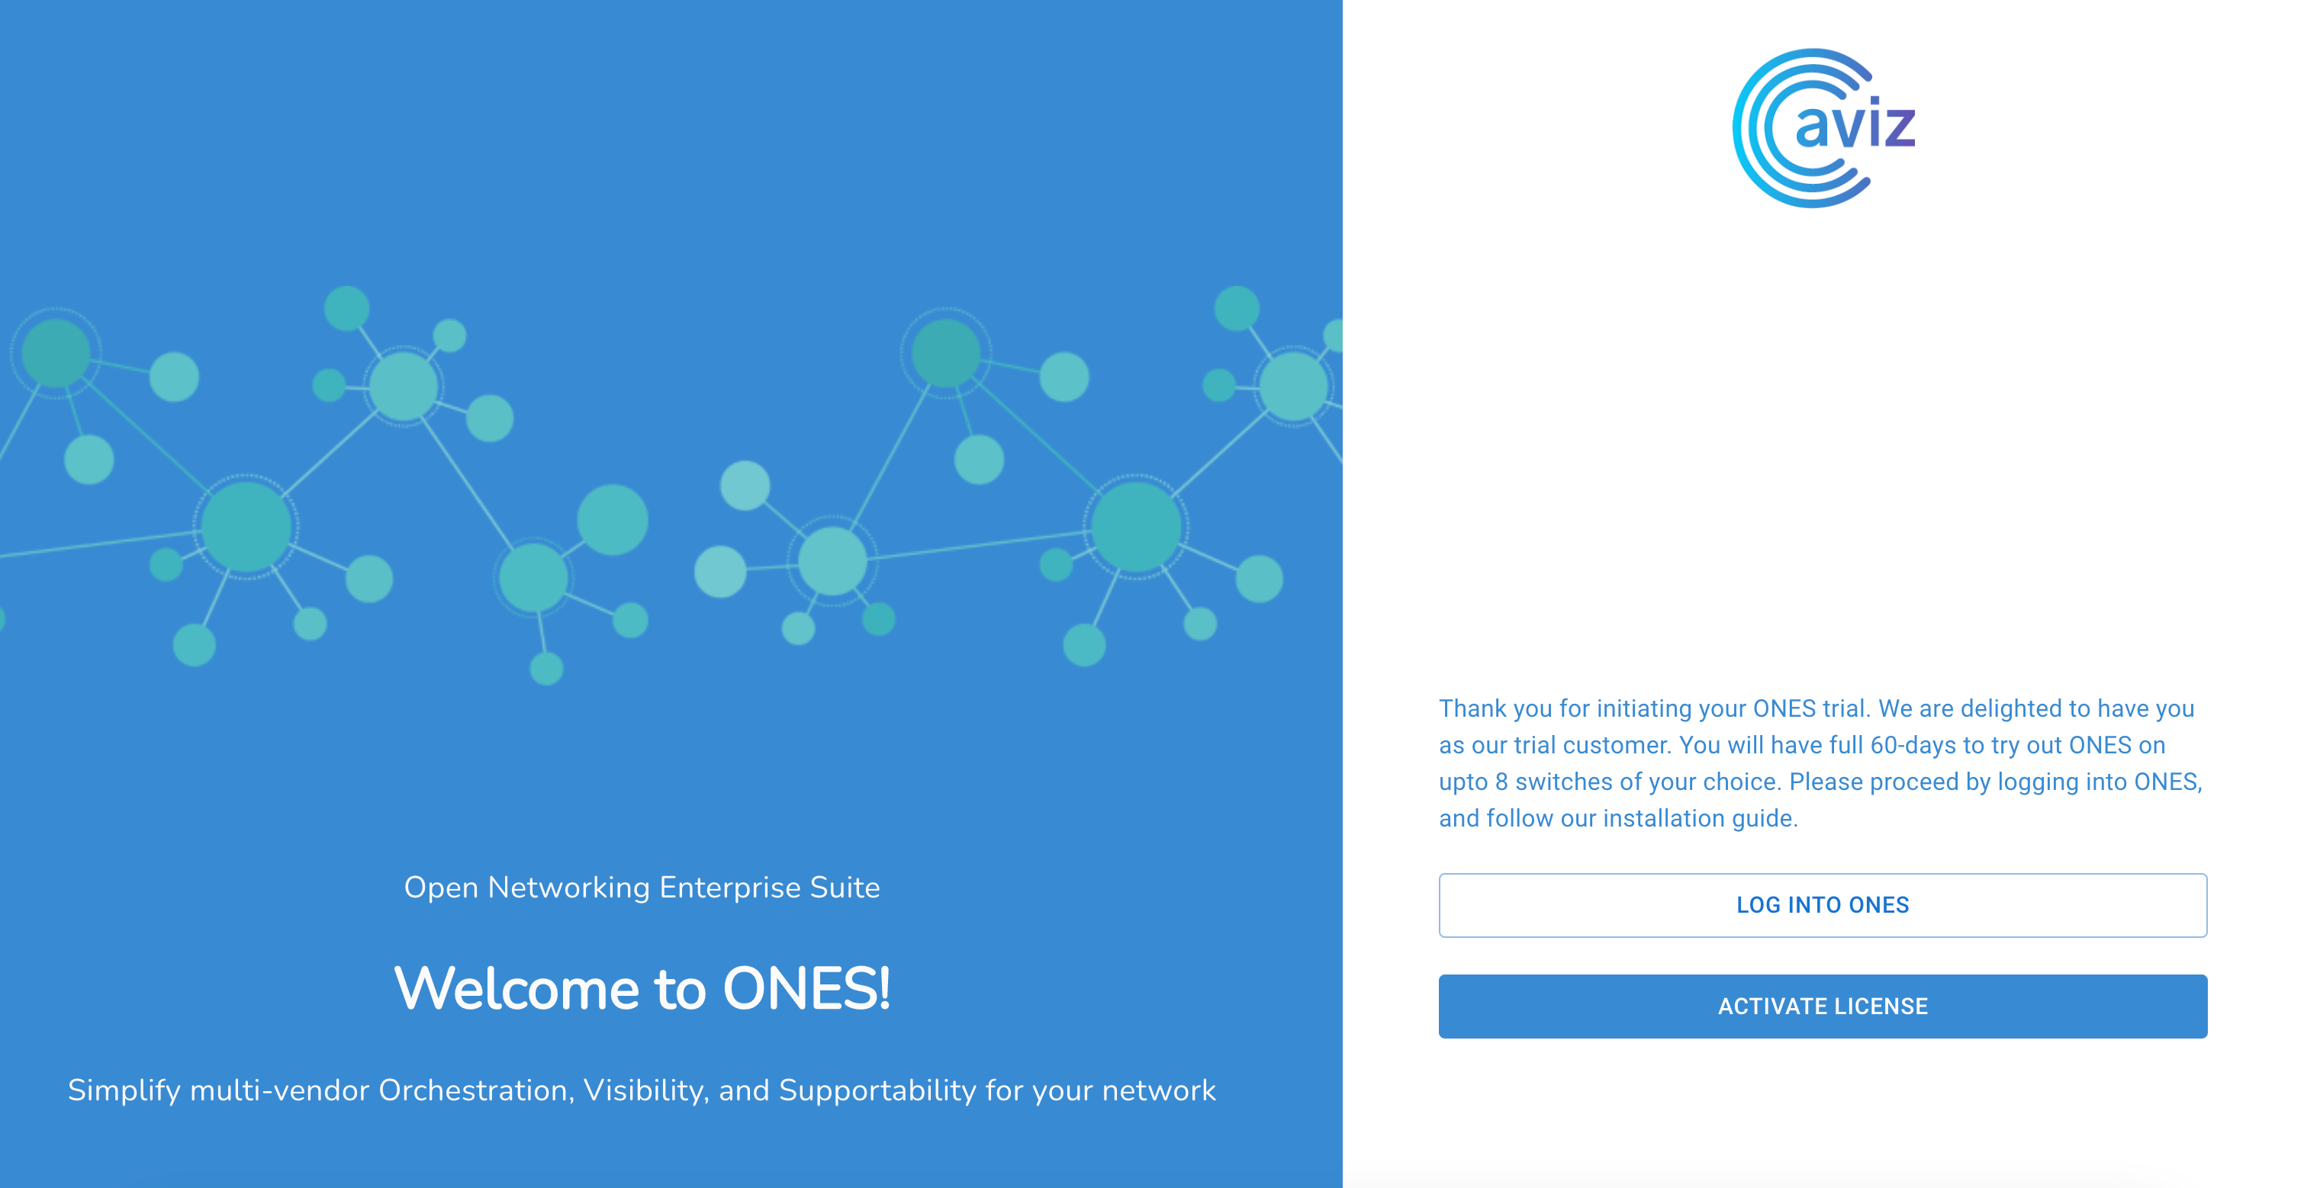
By default, the installer has license for 8 devices upto 60days
ONESv1.1 support SSL certificate integration
User can choose YES if the User wants to integrate own SSL certificate
Choose NO, if the user does not have their own SSL certificate and wants to use the certificate provided by AVIZ
The installation allows a user to enable DB backup
Users can choose the local or remote location to backup the database
By-Default application creates a database backup in every 86400 seconds(1 day), but user can modify it as per the requirement
By-Default application creates 5 backups and once it will add one more it will remove the first copy of the database, User can modify the number of backup files at the time of installation
NOTE: The system might have multiple IP addresses, so the user can use any IP to access ONES-UI.
Installation begins
Access ONES Application Web GUI from a supported browser using https://<host-ip>
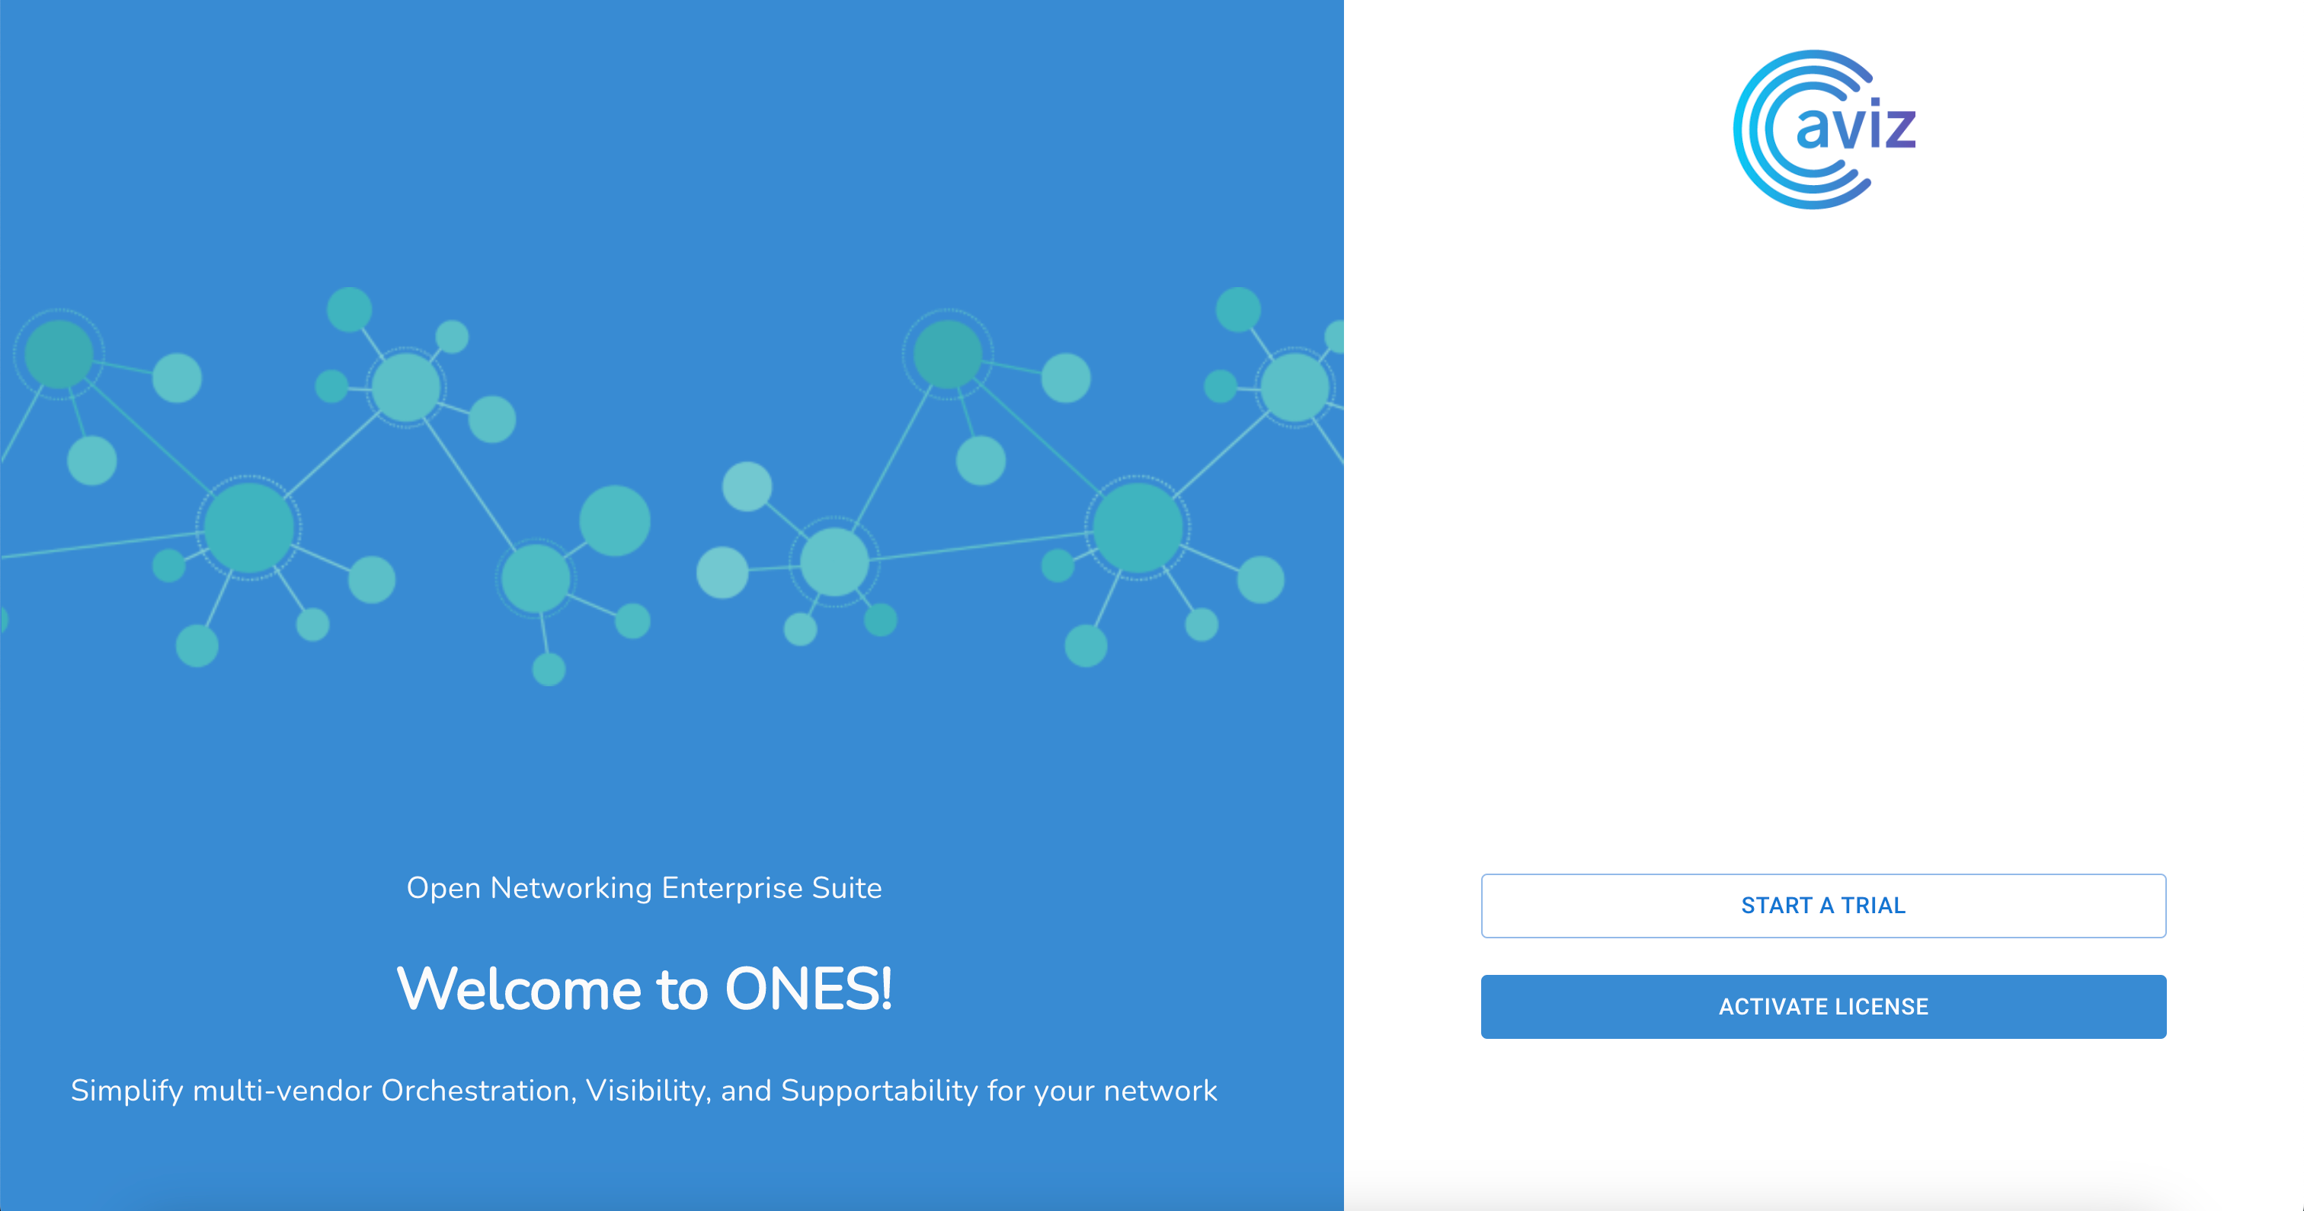
Activation:
For Trail, user can choose Start A Trial
Then user can choose Activate License if user has activated key to supporting more then 8 devices
Start A Trail
Use Default credentials as below;
Username: superadmin
Password : Admin@123
Update/Change your password on the first login
Password should contain:-
Minimum Password Length - 8 characters
Maximum Password Length - 24 characters
Character Support - Alpha Numeric
Special Characters - (# @ $ ! & % only)
Character Rule - At least one Upper Case and one special character

Login To ONES
After Resetting the password use new credentials to login
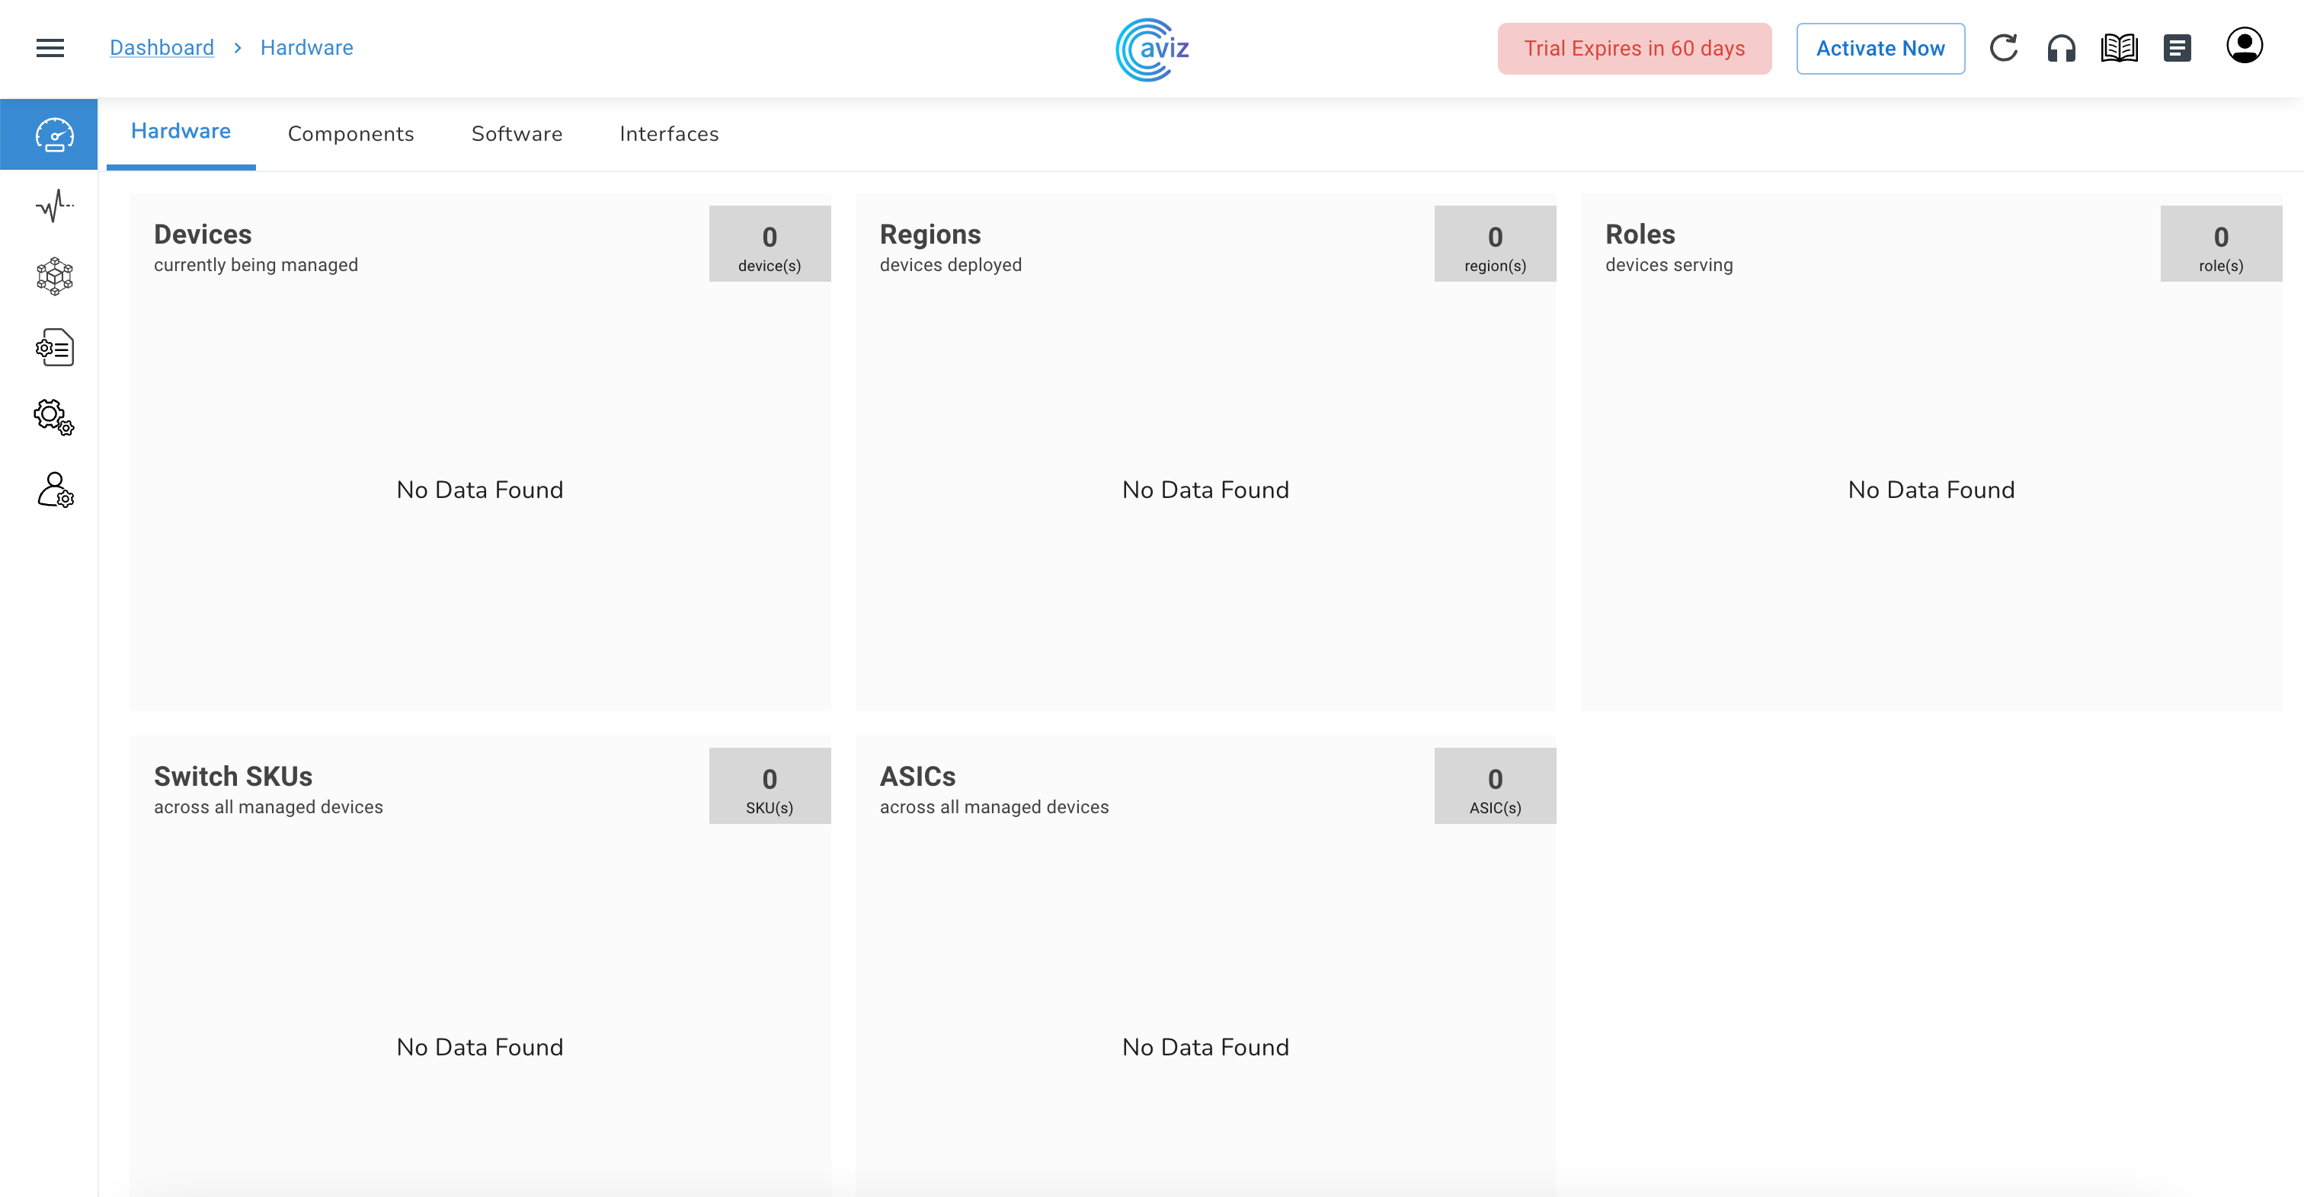
You will see the default Dashboard → Hardware view