Splunk
Overview
This section guides you through configuring and running the integration between Splunk and NCP.
By following these steps, you'll enable NCP to:
Connect to your Splunk instance and pull structured logs.
Parsing and index logs for efficient search and correlation.
Allow users to query logs using natural language in the NCP chat interface.
Enhance troubleshooting workflows and observability through log-driven insights.
Prerequisites
Before beginning, make sure you have:
Splunk Endpoint URL: Example:
https://splunk.example.com:8089Splunk Query: Used to filter logs from specific sources (e.g.,
index="network" sourcetype="syslog")
Configure Splunk as a Data Source in NCP
To connect NCP with your Splunk instance, follow these steps:
Log in to the NCP GUI
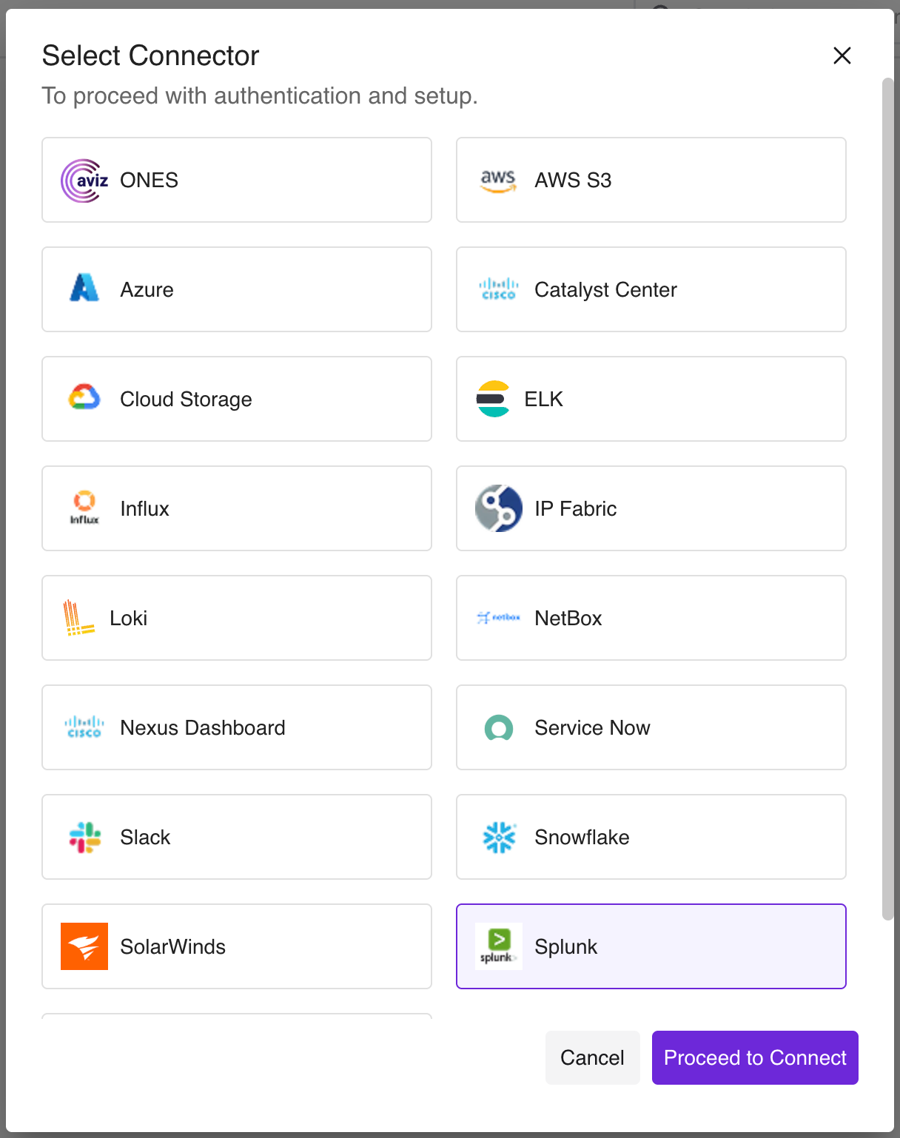
Navigate to Settings → Data Connectors, then click Add Connector

Select Splunk from the list of available connectors

Enter the following details:
Name: A label for the Splunk configuration (e.g.,
Splunk-Cluster)Host: The full URL of your Splunk endpoint (e.g.,
http://splunk.example.com:8089)Username: Your Splunk username (e.g.,
admin,user123)Password: The password associated with the Splunk username (e.g.,
your_password_here)Index: The index in Splunk where the logs are stored (e.g.,
network,syslog)

Click Save

Last updated
