You can connect to the console port of the VM to see the installation logs.
Create the VM using GUI App virt-manager
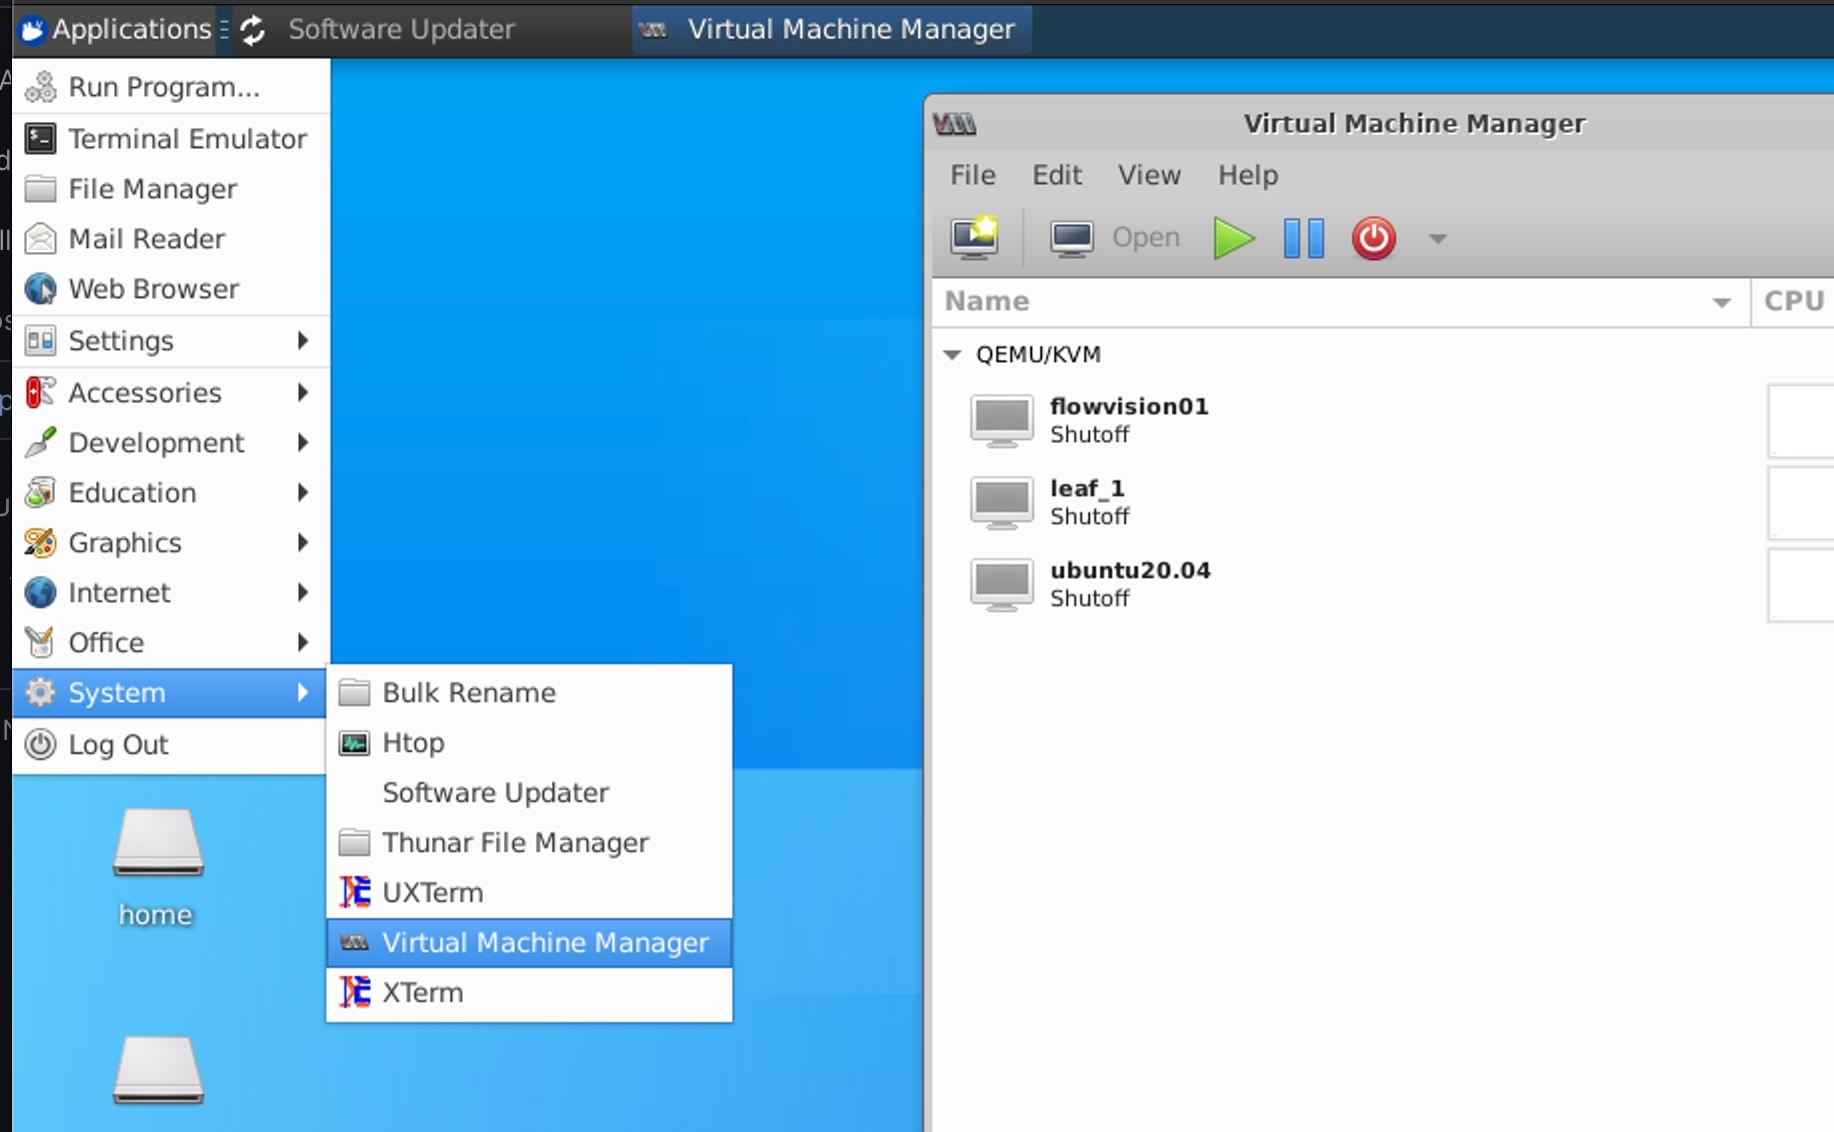
If your host server has Ubuntu Desktop and virt-manager installed you can use it to deploy the VM. Make sure you can start the Virtual Machine Manager and that it connects successfully to the local hypervisor.
Figure 2: Virt-Manager
Creating a VM with virt-manager is very straightforward, Use the following steps to deploy the FTAS VM
File -> New Virtual Machine -> Import existing disk image -> Forward
Figure 3: Create new VM from existing disk image
Browse to the FTAS disk image location and select Ubuntu as the OS name
Click "Forward" and select vCPU (min 2 cores) and Memory (4GB) for the VM
Figure 4: Set vCPU and memory
Click "Forward", give your VM a name and check "Customize configuration before install"
Select "NIC ...", in the "Network source" select the Linux bridge you created on the host machine
Figure 5: Network selection
Apply the configuration and start the VM
Create the VM using XML configuration
Create an XML configuration file from the following template
The below lines can be changed to customize the VM installation:
Create a Linux bridge configuration file (bridged-network.xml) for libvirt from the following template
Define the Linux bridge for the VM
Start the VM
If you see a permission error run the virsh command with sudo may fix the issue
Check the VM status
Configure the IP address on the VM
If there is a DHCP server on the management network the VM will obtain its IP configuration from the DHCP server
If there is no DHCP server or you want to configure the IP address statically, Follow the below steps
Enter VM console
The default username is 'oper' with the default password 'oper@123'
Check connections and devices
Release IP assigned by DHCP
Configure static IP for the connection
Set a default Gateway address
Set the IP configuration mode to manual
Reapply the configuration to the interface
Verify the IP address
Test FTAS VM reachability from outside the VM, if the VM is not reachable please check the access rule at the below location,
If the above value is 1 please change it to 0 and the reachability issue should be resolved
There are some scaling scripts that require multiple network service servers (NTP, SYSLOG, TACACS+, etc.). In order to simulate this, we can add a secondary IP address to the VM NIC.
To add a secondary IP address, use the command
Network services containers
The FTAS VM has docker containers running and the following docker images installed:
DHCP container image ztp_dhcp(DHCP sevice)
ztp_dhcp(DHCP) services are not run by default as it might conflict with DHCP running in the DC infra.
Net Services container image netservices:v1 (NTP, SYSLOG, TACACS+ services). This container is run with the "--network=host" option. If you need to change the configurations of the services please find them in the following configuration files.
#Execute the below command to attach the VM to the Linux Bridge
sonic@sonic-39:~$ virsh net-define bridged-network.xml
sonic@sonic-39:~$ virsh net-start br0
sonic@sonic-39:~$ virsh net-autostart br0
sonic@sonic-39:~$ virsh net-list
 Name                 State      Autostart     Persistent
----------------------------------------------------------
 br0                  active     yes           yes

sonic@sonic-39:~$
virsh create <VM XML configuration file>

#sonic@sonic-39:~$ virsh create ftas.xml
#Domain FTAS_VM01 created from ftas.xml
#sonic@sonic-39:~$
sonic@sonic-39:~$ virsh list
 Id    Name                           State
----------------------------------------------------
 8     FTAS_VM01                      running
sonic@sonic-39:~$
sonic@sonic-39:~$ virsh console FTAS_VM01
Connected to domain ftas03
Escape character is ^]

ftasvm login:
sudo nmcli con show

oper@ftasvm:~$ sudo nmcli con show
NAME                UUID                                  TYPE      DEVICE
Wired connection 1  782de6d4-3867-3c5e-95fb-061ae39e5fae  ethernet  eth0
oper@ftasvm:~$
# Capture the connection NAME of eth0 device
sudo dhclient -v -r

oper@ftasvm:~$ sudo dhclient -v -r
Internet Systems Consortium DHCP Client 4.4.1
Copyright 2004-2018 Internet Systems Consortium.
All rights reserved.
For info, please visit https://www.isc.org/software/dhcp/

Listening on LPF/veth1dcacbe/b6:bc:e5:4a:7e:1f
Sending on   LPF/veth1dcacbe/b6:bc:e5:4a:7e:1f
<..>
Sending on   Socket/fallback
oper@ftasvm:~$
sudo nmcli con mod "Wired connection 1" ipv4.addresses <ip address>/<prefix>

#Example - sudo nmcli con mod "Wired connection 1" ipv4.addresses 192.168.0.37/24
#verify the IP address
ip a
oper@ftasvm:~$ ip a
<..>
2: eth0: <BROADCAST,MULTICAST,UP,LOWER_UP> mtu 1500 qdisc fq_codel state UP group default qlen 1000
link/ether 52:54:00:37:3c:5c brd ff:ff:ff:ff:ff:ff
inet 192.168.0.37/25 brd 192.168.0.255 scope global noprefixroute eth0
valid_lft forever preferred_lft forever
inet6 fe80::70a4:9f2e:658c:4d29/64 scope link noprefixroute
valid_lft forever preferred_lft forever
<..>
oper@ftasvm:~$
#Verify IP method
oper@ftasvm:~$ sudo nmcli -f ipv4.method con show "Wired connection 1"
ipv4.method: manual
oper@ftasvm:~$
sudo nmcli con mod "<con_name>" +ipv4.addresses <ip address>/<prefix>
#Example - sudo nmcli con mod "Wired connection 1" ipv4.addresses 192.168.0.42/24
# Reapply config
sudo nmcli device reapply <dev_name>

#Example - sudo nmcli device reapply eth0
# Show IP address to verify
ip a
# Restart docker containers so their services can listen on new IP addresses
oper@ftasvm:~$ docker images
REPOSITORY    TAG       IMAGE ID       CREATED        SIZE
ztp_dhcp      v1        599313a03bfb   41 hours ago   83.3MB
netservices   v1        8a9c98506637   41 hours ago   259MB
oper@ftasvm:~$ d
oper@ftasvm:~$ docker ps -a
CONTAINER ID   IMAGE            COMMAND                  CREATED        STATUS        PORTS     NAMES
8add12060a57   netservices:v1   "/usr/bin/supervisord"   41 hours ago   Up 41 hours             net_services
oper@ftasvm:~$