
KVM ONES Deployment
QCOW Deployment
Download Qcow2 Package
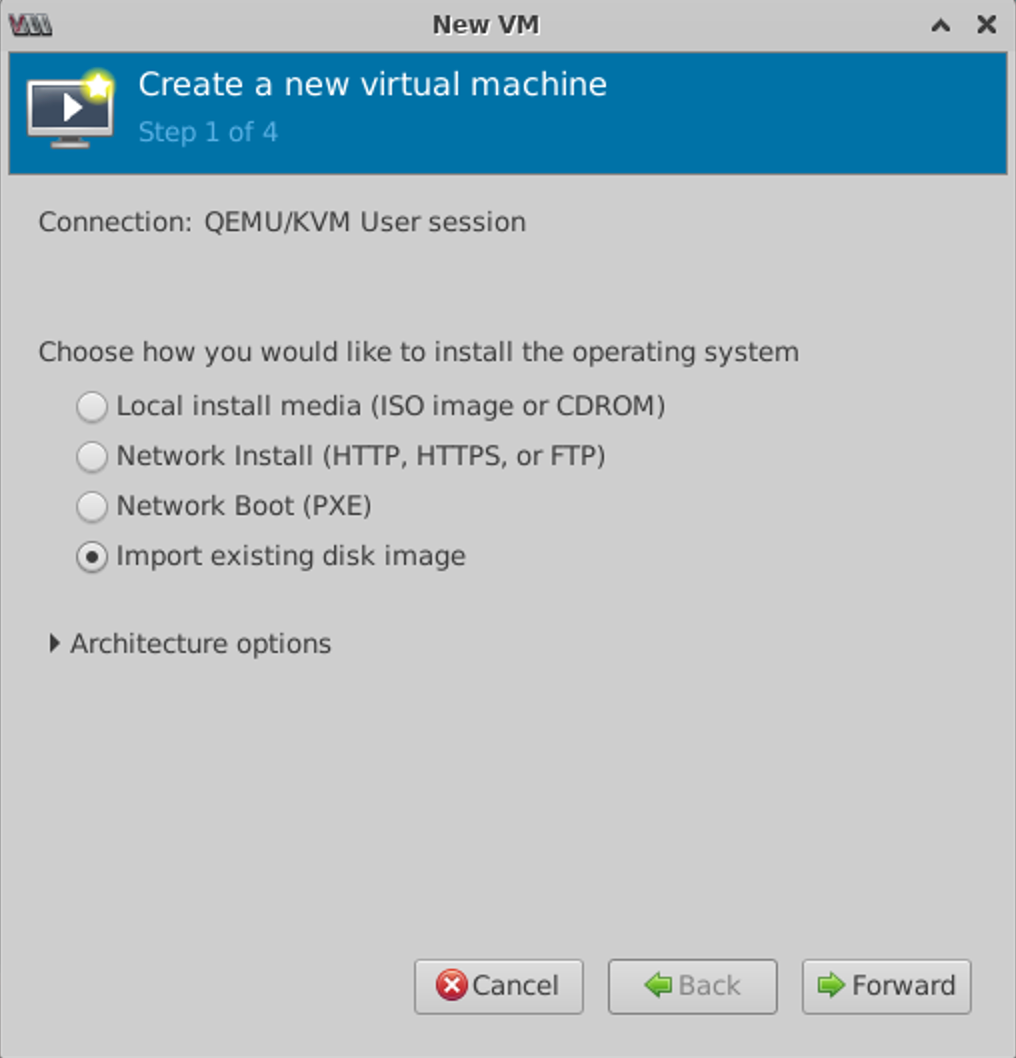
Create the VM using GUI App virt-manager


<domain type='kvm' xmlns:qemu='http://libvirt.org/schemas/domain/qemu/1.0'>
  <name>ONES_VM01</name>
  <memory unit='KiB'>4194304</memory>
  <currentMemory unit='KiB'>4194304</currentMemory>
  <vcpu placement='static'>4</vcpu>
  <resource>
    <partition>/machine</partition>
  </resource>
  <os>
    <type arch='x86_64' machine='pc-i440fx-1.5'>hvm</type>
    <boot dev='hd'/>
  </os>
  <features>
    <acpi/>
    <apic/>
  </features>
  <clock offset='utc'/>
  <on_poweroff>destroy</on_poweroff>
  <on_reboot>restart</on_reboot>
  <on_crash>restart</on_crash>
  <devices>
    <emulator>/usr/bin/qemu-system-x86_64</emulator>
    <disk type='file' device='disk'>
      <driver name='qemu' type='qcow2' cache='writeback'/>
      <source file='/home/oper/taas_vm/ones.qcow2' />
      <target bus='virtio' dev='vda'/>
    </disk>
    <serial type='pty'>
      <source path='/dev/pts/3'/>
      <target port='0'/>
    </serial>
    <!-- Management interface eth0 -->
    <interface type='network'>
	<model type='e1000' />
        <source network='br0'/>
        <address type='pci' domain='0x0000' bus='0x00' slot='0x00' function='0x0'/>
    </interface>
   <controller type='usb' index='0'/>
    <memballoon model='virtio'>
      <alias name='balloon0'/>
      <address type='pci' domain='0x0000' bus='0x00' slot='0x04' function='0x0'/>
    </memballoon>
  </devices>
</domain>Line #2 The Name of the VM
Line #3 The amount of System Memory for the VM
Line #4 The amount of System Memory for the VM
Line #5 The number of vCPU Core for the VM
Line #25 The Path to the qcow2 VM image file
Line #35 The name of the Linux bridge on the host machine<network>
<name>br0</name>
<forward mode="bridge" />
<bridge name="br0" />
</network>Line #4 the name of the Linux bridge on the host machine#Execute the below command to attach the VM to the Linux Bridge
sonic@sonic-39:~$ virsh net-define bridged-network.xml
sonic@sonic-39:~$ virsh net-start br0
sonic@sonic-39:~$ virsh net-autostart br0
sonic@sonic-39:~$ virsh net-list
Name State Autostart Persistent
----------------------------------------------------------
br0 active yes yes
sonic@sonic-39:~$ virsh create <VM XML configuration file>
#sonic@sonic-39:~$ virsh create ones.xml
#Domain ONES_VM01 created from ones.xml
#sonic@sonic-39:~$
sonic@sonic-39:~$ virsh list
 Id    Name                           State
----------------------------------------------------
 8     ONES_VM01                      running
sonic@sonic-39:~$ Username: aviz
Password: Aviz@123