
Adding Devices
The user needs to make sure, The devices have a unique name, otherwise, there will issue while plotting the full topology view(Topology Page).
Agent-based devices auto-discover the ONES-App and get registered automatically on the ONES Inventory page
To Onboard the Agent-Less devices user needs to add them manually
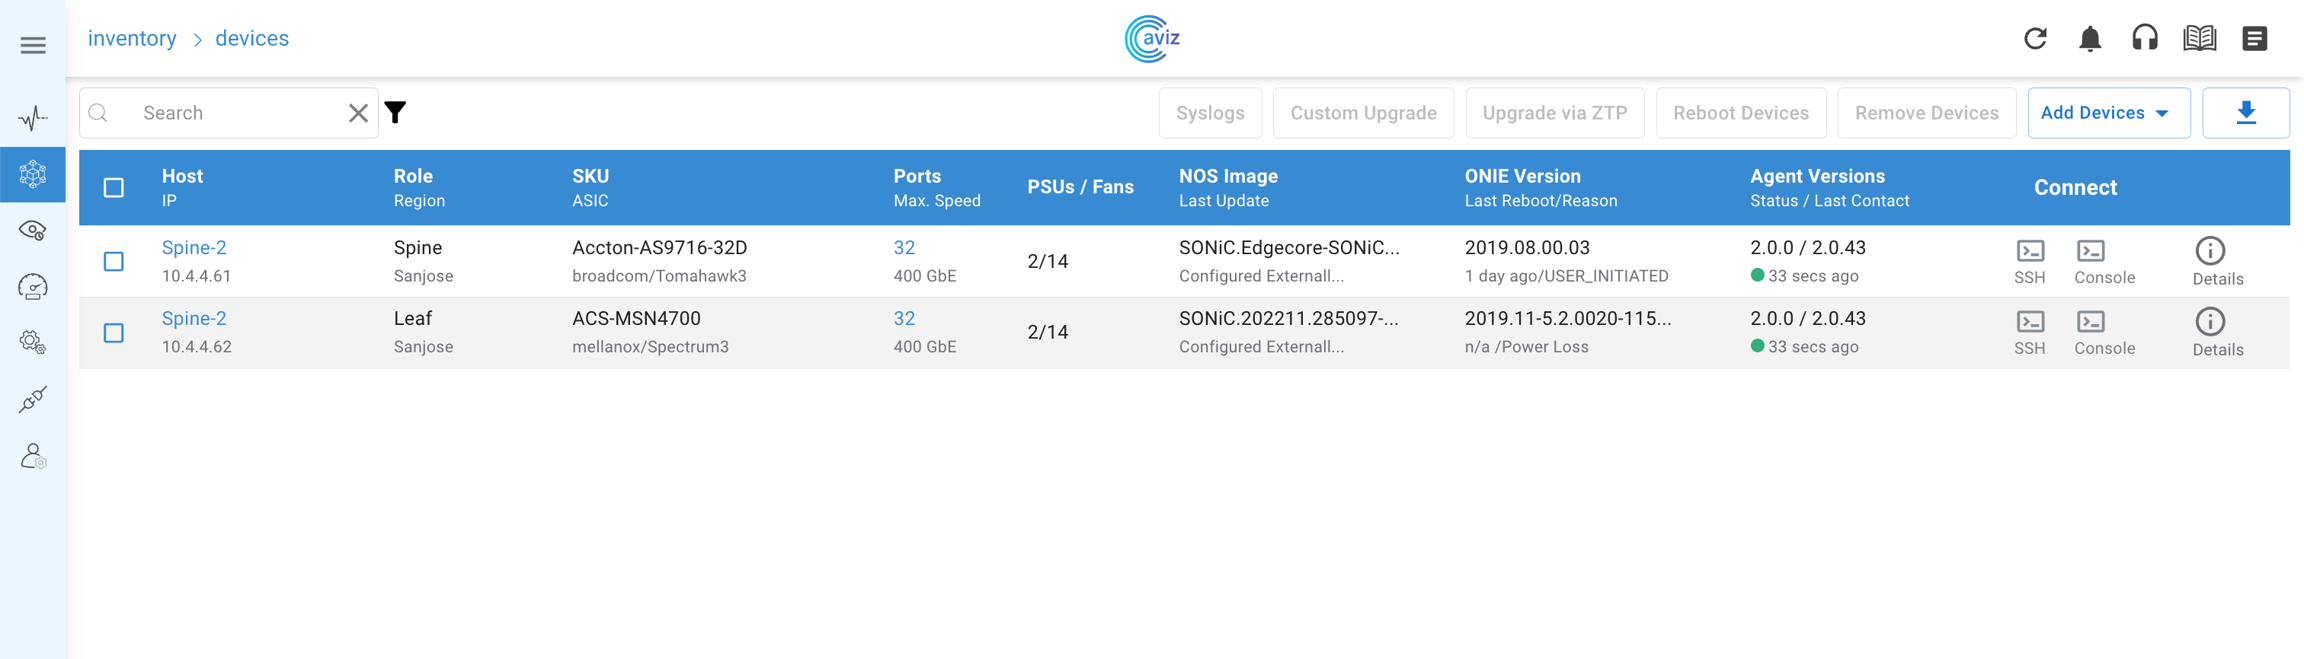
Navigate to Inventory

This page gives the control to onboard the devices with two options
Add Devices using the YAML Editor
Upload the CSV file containing the device list
The movement user chooses CSV upload, then the YAML Editor will be disabled

1. Add Devices using YAML
Click on Add Devices
Upload Device Inventory using YAML Editor
Navigate to Inventory >> Devices >> Add Devices >> Use YAML
Use the below format to add devices to the application
Make sure to use the correct indentation for the YAML files

Click Save & Apply
ONES Application is now ready to manage the added devices
2. Add devices using CSV
Click on Add Devices
Upload Device Inventory using CSV File
Navigate to Inventory >> Devices >> Add Devices >> Use CSV
Use the below format to add devices to the application

Select CVS file to Upload >> <Choose CSV file containing devices entry>
Upload & Add
